Useful Tips for Using Solderless Development Boards
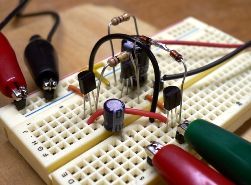 Continuation of the article about solderless breadboards. If the first part of the article focuses on the review of prototyping boards and a description of their device, then now we will consider some useful subtleties and nuances that you need to know when working with such prototyping boards.
If the instructions of the solderless breadboard say that the diameter of the wire inserted into the contacts is 0.4 - 0.7 mm, then you should not try to insert the conclusions of parts that are thicker than the specified value. This will weaken and wear the contacts. If the need arises for the use of such parts, it is better to solder the wires of the specified diameter to the thick terminals, or simply wrap them. Naturally, the wire should be without insulation.
Solderless breadboards are sold in two trim levels: with wires - jumpers and without them. In the first version, the board turns out to be a little more expensive, but it doesn’t matter if you managed to buy a separate board ...
Solderless breadboards - what are and how are they arranged
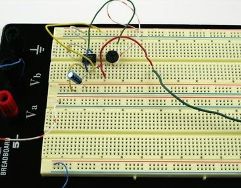 With the modern development of laser-ironing technology, making a printed circuit board at home is so simple that it’s even funny to talk about it. It is enough to print a picture with conductors on a laser printer, and then smooth it with an iron to prepare the future board. It remains only to soak the paper with water and pickle the board in the etching solution.
The technology is so good and, it can be said, lazy that even with the manufacture of only one instance, a printed circuit board is made. Although printed circuit boards have no advantages compared to surface mounting, if several copies of the same device are not required.
But, before assembling a printed circuit board, the circuit is most often assembled on a layout. In the simplest case, on a piece of PCB, plywood or thick cardboard, power buses made of tinned wire are fixed at the edges ...
Two-wire chandelier control circuits using semiconductors
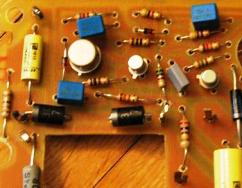 One good engineer, an electronics engineer, said that if, supposedly, there is a relay in the circuit, then it needs to be improved. And one cannot disagree with this: the relay contact actuation resource is only a few hundred, maybe thousands of times, while a transistor operating at a frequency of at least 1 KHz makes 1000 switches every second.
This circuit was proposed in the journal "Radio" No. 9 of 2006. The algorithm of the circuit is the same as in the previous two: with each short-term click of a switch, a new group of lamps is connected. Only in those schemes there is one group, and in this whole two.
It is easy to see that the basis of the circuit is a two-digit counter, made on the K561TM2 chip, containing 2 D - flip-flops in one housing. On these triggers a normal two-digit binary counter is assembled. Each unit in these numbers indicates that the corresponding transistor is open ...
How to control a chandelier in two wires. Relay circuits
 Dangers and hardships await a person always and everywhere, well, if not danger, then minor troubles and inconveniences are frequent guests, even in their own apartment.
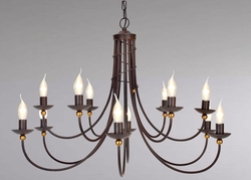
A simple example. Your wife bought you a chandelier as a birthday present (last year you gave her a screwdriver or a drill), and offers to hang it in the bedroom, where before that for so many years the lonely “Ilyich’s bulb” has served faithfully. Perhaps even without a lampshade or shade.
A chandelier of three or even five lamps shines with beautiful glass and metal, and three, or maybe all four wires, stick out invitingly from it. What is called a transparent hint to replace the wiring in this room. After all, only two wires came up to a single lamp, and a single switch still hangs on the wall. It is simply uneconomical to light five lamps at once, and it is not always convenient ...
Photosensors and their application
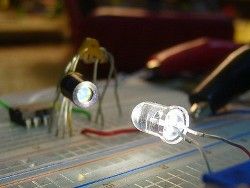 What are photosensors? In various electronic devices, automation devices, photosensors are used very widely. Anyone who has ever disassembled an old computer mouse, as it was called a “komovskaya,” with a ball inside, must have seen wheels with slots spinning in the slots of the photosensors. Such photosensors are called photo interrupters - they interrupt the flow of light.
On one side of such a sensor there is a source - an LED, as a rule, infrared (IR), on the other a phototransistor (to be more precise, two phototransistors, in some photodiode models, to determine the direction of rotation). When the wheel is rotated with slots at the output of the photosensor, electrical impulses are obtained, which is information about the angular position of this wheel itself. Such devices are called encoders. Moreover, the encoder can be just a contact ...
Computer technology in the service of a radio amateur
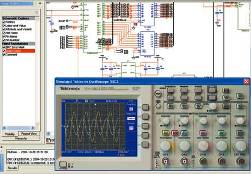 For many people, a computer is not only a home entertainment center, but also a tool to make good money. First of all, these are, of course, programmers. People of other professions are not without a computer: writers, translators, architects, designers, designers, accountants, and even musicians. This list is probably endless these days.
In the workshop of a radio amateur, the computer is not the last place. First of all, this is a repository of various literature, which used to occupy a lot of space in a bookcase. Working with books and magazines has become much easier and faster: the right book or article is in seconds. And what about online libraries!
If it is not possible to solve a technical issue on its own, then you can "go" to the Internet forum of amateur radio stations and solve the problem ...
Radio amateur workshop - tools, materials and measuring instruments for work
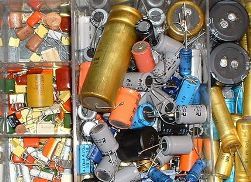 To begin with, who are hams. Amateur radio, as a mass phenomenon, arose along with the appearance in life of the first radio receivers in the twenties of the last century: many were interested in what was inside and how it worked. In fact, a radio amateur is an engineer without a diploma.
In the first part I talked about the development of the element base of radio electronics, and along the way, about the development of computers. This article is a story about the construction of an amateur radio workshop, about the tools, materials and measuring instruments that are used by amateur radio enthusiasts in their practical activities. The article is intended mainly for beginner hams. I would be glad if this article is useful to readers of the site!
If you decide to engage in amateur radio, then the legitimate question arises, but where do they deal with, where to place the smallest workshop? There are many answers to this question ...
How to repair a do-it-yourself microwave oven
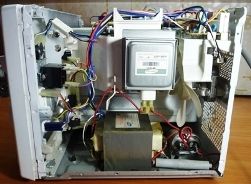 A microwave oven has long settled in the kitchen of every home, in a cafe and even in an office. The ability to quickly warm up your favorite dish will not surprise anyone. But not so long ago, the microwave was a curiosity. Unfortunately, like any other technique, microwaves do not rarely break. This happens for many reasons. The fault can be caused by marriage in production and improper operation and unstable power supply.
When household appliances break down in a house, most people turn to repair shops. But far from all - there are those who like to do everything with their own hands, and this article is for them. As you probably understood from the name, it will focus on the repair of microwave ovens.
If the circuitry for you is a dark forest, do not rush to close the page. This is much simpler than it might seem at first glance ...
