Categories: Sharing experience, All about LEDs
Number of views: 15316
Comments on the article: 0
Illuminated magnifier: switch to LEDs
 Favorite backlit magnifier honestly worked for almost a year and a half and died. Quiet cotton, light smoke, a peculiar smell - and silence. The electronic ballast burned out.
With this electronic ballast is not so simple. I connected a functioning electronic ballast from a compact 11W fluorescent lamp (one lamp directly, the second through an additional inductor parallel to the one installed). Only one burns. Inconveniently. Have to watch CFL.
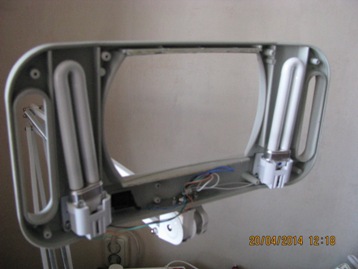
Inside the Chinese design are two 137 mm fluorescent noname lamps with a G23 socket.
Wikipedia: “The G23 lamp is a double folded tube. A starter is located inside the base; only an electromagnetic inductor is needed to start the lamp. Available at a power of 5 to 14 watts. The main application is table lamps, but they are often found in fixtures for showers and bathrooms. ”
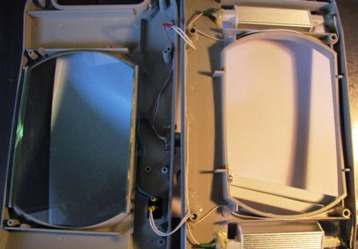
Compare the standing lamp with Uniel, bought in the nearest store for 50 rubles. The difference is obvious.
It seems that the manufacturer took the semi-finished product of one of the thinnest and shortest lamps (albeit with the G23 socket), did not put the starter, and screwed the capacitor with a clumsy hand. Moreover, the conclusions of the flask are simply inserted into the plugs of the cap.
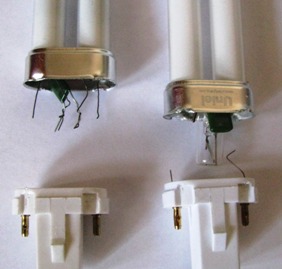
This can be seen in the photo - at Uniel, the conclusions had to be broken, at noname they came out completely freely. And as soon as she worked for more than a year? And such a lamp is sold for 400 - 500 rubles (in the chip - 520 rubles).
N-yes ... Well, God bless him. The era of fluorescent lamps is passing.
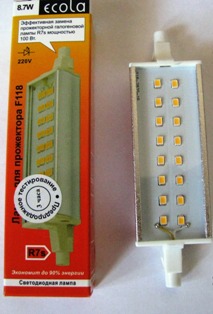
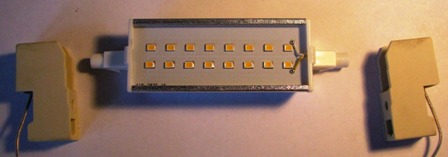
In terms of size, design, power and availability, I chose the J7LV87ELC 8.7W Lamp. LED, 8.7W, 118mm, 220V, R7s, 4200K, LED linear, cool white light ("Ecola"). " All characteristics are indicated in the name, I will add only dimensions: 118 x 32 x 20mm. Almost what you need.
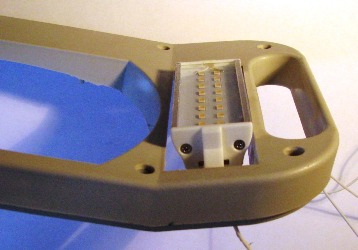
With the standard R7s socket, the lamp does not fit into the housing:
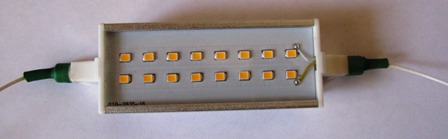
Therefore, in our opinion, in Chinese we are soldered directly to the contacts of the lamps, we cover the soldering spots with heat shrink, we fasten the lamps in the openings of the casing with epoxy glue.
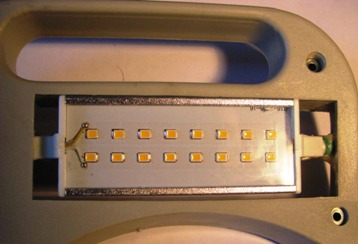
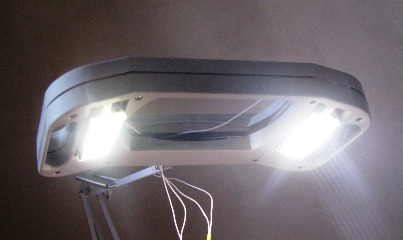
Total: great, there is even room for ventilation:
That's all. Shines better than before. And, I hope, much more reliable.
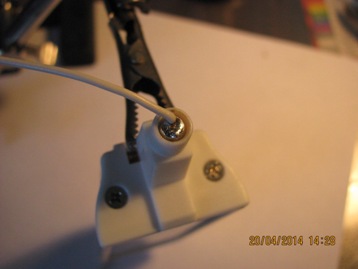
It remains to connect the network, the switch, finally wash and glue the glass, well, and close the case. For example, I did the installation by connecting 3 thin standard wiring in parallel:
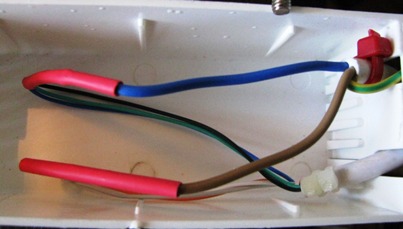
The power of the new lamps is slightly larger than the standard ones. Do I need to drill additional ventilation holes in the upper case cover (at the same time risking getting extra light directly into my eyes)?
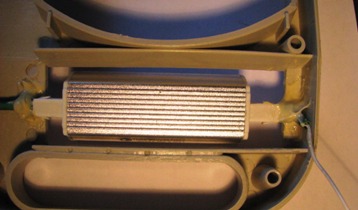
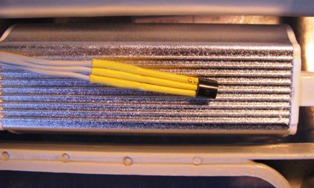
To solve the problem, two DS18B20 temperature sensors were installed, one on the inside of the housing almost on the radiator of the LED lamp, the other on the housing cover above the lamp. Sensors are connected to the STH0024 module.
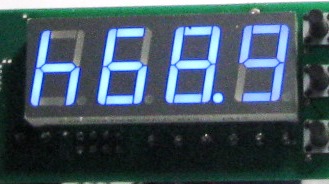
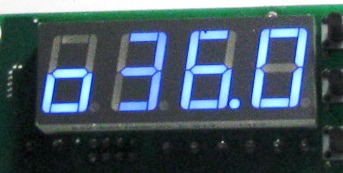
After 1.5 hours of measurement, the temperature inside the case stabilized at 69 degrees, on the lid - about 36 degrees.
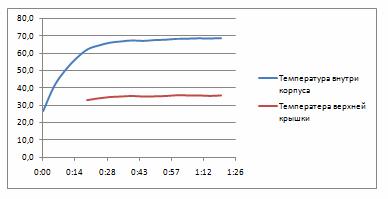
Conclusion: not very good, but not crime. Additional vents are not strictly required. BUT!
CITIZENS! Be sure to observe the alternation of work and rest!
DEPARTING THE OFF THE LIGHT!

The lamp is ready and solemnly put into operation.


See also at bgv.electricianexp.com
: