Categories: Electrician at home, Electric installation work
Number of views: 31742
Comments on the article: 2
How to extend and mount a power input cable in an apartment
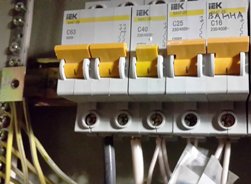 In the houses of the old building on each floor of the entrance, the builders installed an electric input shield. From it they spread an electric network in all rooms. Now another technical decision has been made. All commutations of the electric circuit are carried out inside the apartment where the distribution electric switchboard is mounted.
However, during settlement, it is often necessary to replace or transfer the distribution electrical panel. Cheap designs are simply not capable of fulfilling modern tasks of safe power supply. Even for a modern two-room apartment with 60 m2 of area, more than a dozen electrical circuits are required.
Changing the shield model will require lengthening the power cable, and it may be walled up in a concrete wall or not fit in length. It is not always convenient to take a new cable and lay it with an additional route, especially when it is fixed inside the interfloor mount, which is quite difficult to determine. In addition, the replacement of power circuits on the access panel requires many approvals, the involvement of a specialized team, which creates significant difficulties.
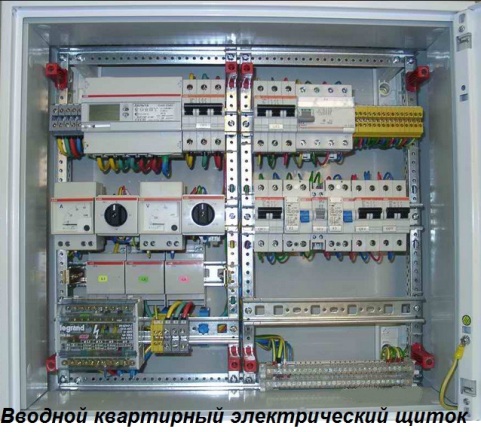
How to replace the input cable
Performance Analysis
First, you should accurately determine the cross-section and material of the veins, access to which may be hidden. After all, you will need to buy an additional piece to increase the length.
It is best to contact the management company and obtain information from the project documentation.
You can also use indirect methods for the parameters of the rated current at the input machine. For 63 amperes of load, a cable with a cross-section of at least 16 mm2 of copper for each core is mounted. In the case of the planned consumption of less than 50 amperes - 10 mm2, and for currents of 10 amperes - both 10 or 16 options are possible.
If there is access to the cable cores, then the cross-sectional area can be measured. But it is necessary to do this when the voltage is removed with the mandatory verification of its absence tested indicator.
Necessary materials and tools

In the store you will need to buy material assets:
-
Cable in the form of a piece of the required length;
-
Coupling for appropriate section and material;
-
Special mounting sleeves for the number of core connections;
-
Mounting pliers;
-
Insulation materials. You can do with special heat shrink tubes. Or use durable compounding compounds based on epoxy resins to fill the coupling directly in a sealed plastic box.
Work technology
The voltage is removed from the old switchboard by switching off the usual input circuit breaker in compliance with the rules of safe operation for dismantling the shield and cable end on it. Then you need to re-install the power cable to a new place, connect the purchased jumper to it to increase the total length.
The method of mounting conductors to create an electrical contact
Each core of the cable is inserted into the sleeve of the coupling on one side and is reliably connected with a bolt connection or crimping with special clamps with adjustable force (depends on the chosen connection design), without which there will be no reliable electrical contact. In most cases, a power cable with flexible multi-wire cores is laid for access to the apartments.
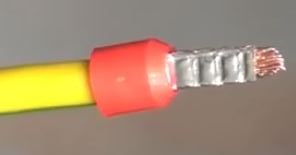
When connected under a bolt, they deform over time and increase transient resistance at the junction, violating the quality of the contact, which leads to excessive heating and burnout of the metal up to complete destruction at high loads.Therefore, for the threaded connection, special sleeves are used that seal the metal, fixed by crimping with pliers to obtain a durable structure. In this way, the prepared core can be screwed into the sleeve.
Look also on this subject: Connection of wires by crimping
Coupling Insulation
In practice, two professional methods are used for reliable insulation of conductors.
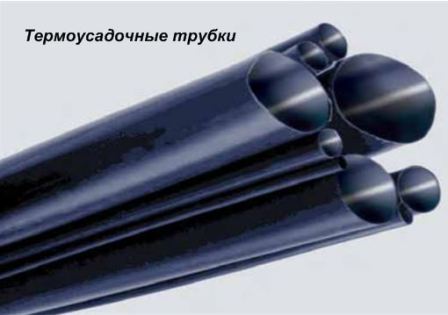
When they are selected, the tube is put on the joint and warms up to a certain temperature. Initially, smaller joint diameters are isolated. Then cover large sections of insulating material.
To finish work, put on top shrink design It is heated by an open flame of an industrial hair dryer for tight fitting of metals with an insulating material that provides tightness.

2. Pouring with resin
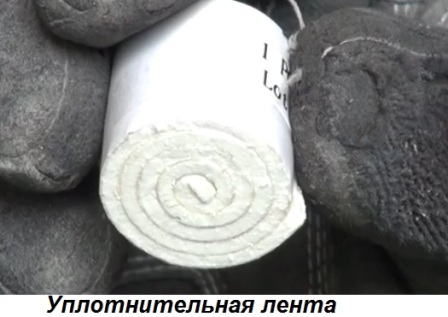
For this method, it is convenient to use ready-made kits with a coupling, a body of two halves, a sealing tape and packages with sealant.
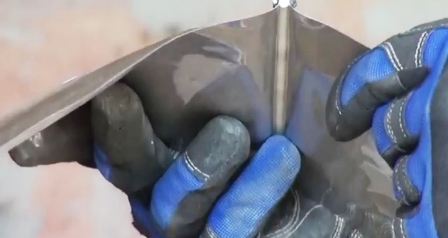
A sealing tape is used in the coupling to seal the ends of the cable.
Sealant preparation
It is enough to remove the jumper from the bags, then mix the resin with the diluent by frequent shaking for about a minute. In this case, the components are heated. Achieving high temperature indicates the readiness of the mixture.
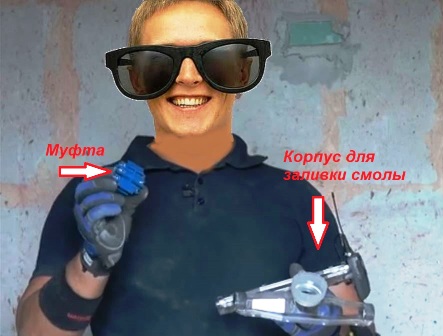
The finished resin should be poured into the coupling when the housing is securely fastened to the wall through the corner hole cut in the bag.
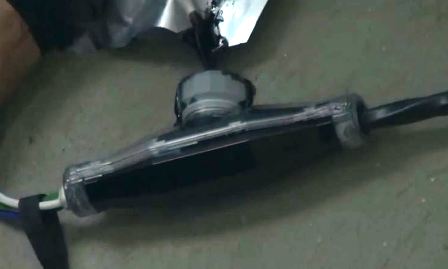
Warning
This operation cannot be done when the assistant holds the case with the clutch in his hands. Any movement can cause injury or burns, but the power cable has a certain weight and dimensions.
After filling the sealant, it is necessary to remove the filling funnel, and close the hole with a special plug. It is also recommended that the entire structure be tilted several times in different planes to evenly coat the body cavities with resin. Next, we fix the created coupling for the final hardening of the sealing mixture and subsequent laying.
In this way, the length increases, and the augmented power cable reliably provides two most important tasks of the electrical circuit:
1. creating excellent electrical contact with minimal transient resistance;
2. Reliable tight insulation between all cores and the sheath, allowing long-term operation even in a humid environment.
It remains to connect the elongated end of the input cable to the new apartment shield, but this is already the material of another article.
Read also on this topic: How to assemble the electrical panel
See also at bgv.electricianexp.com
:
